Thank you page
Creating a thank you page enhances user experience by providing immediate feedback once a form is submitted. Follow the steps below to configure a thank you page or a submission message.
- Open your form in the form editor.
- Click on the Settings option from the left sidebar.
Customize the submission response message
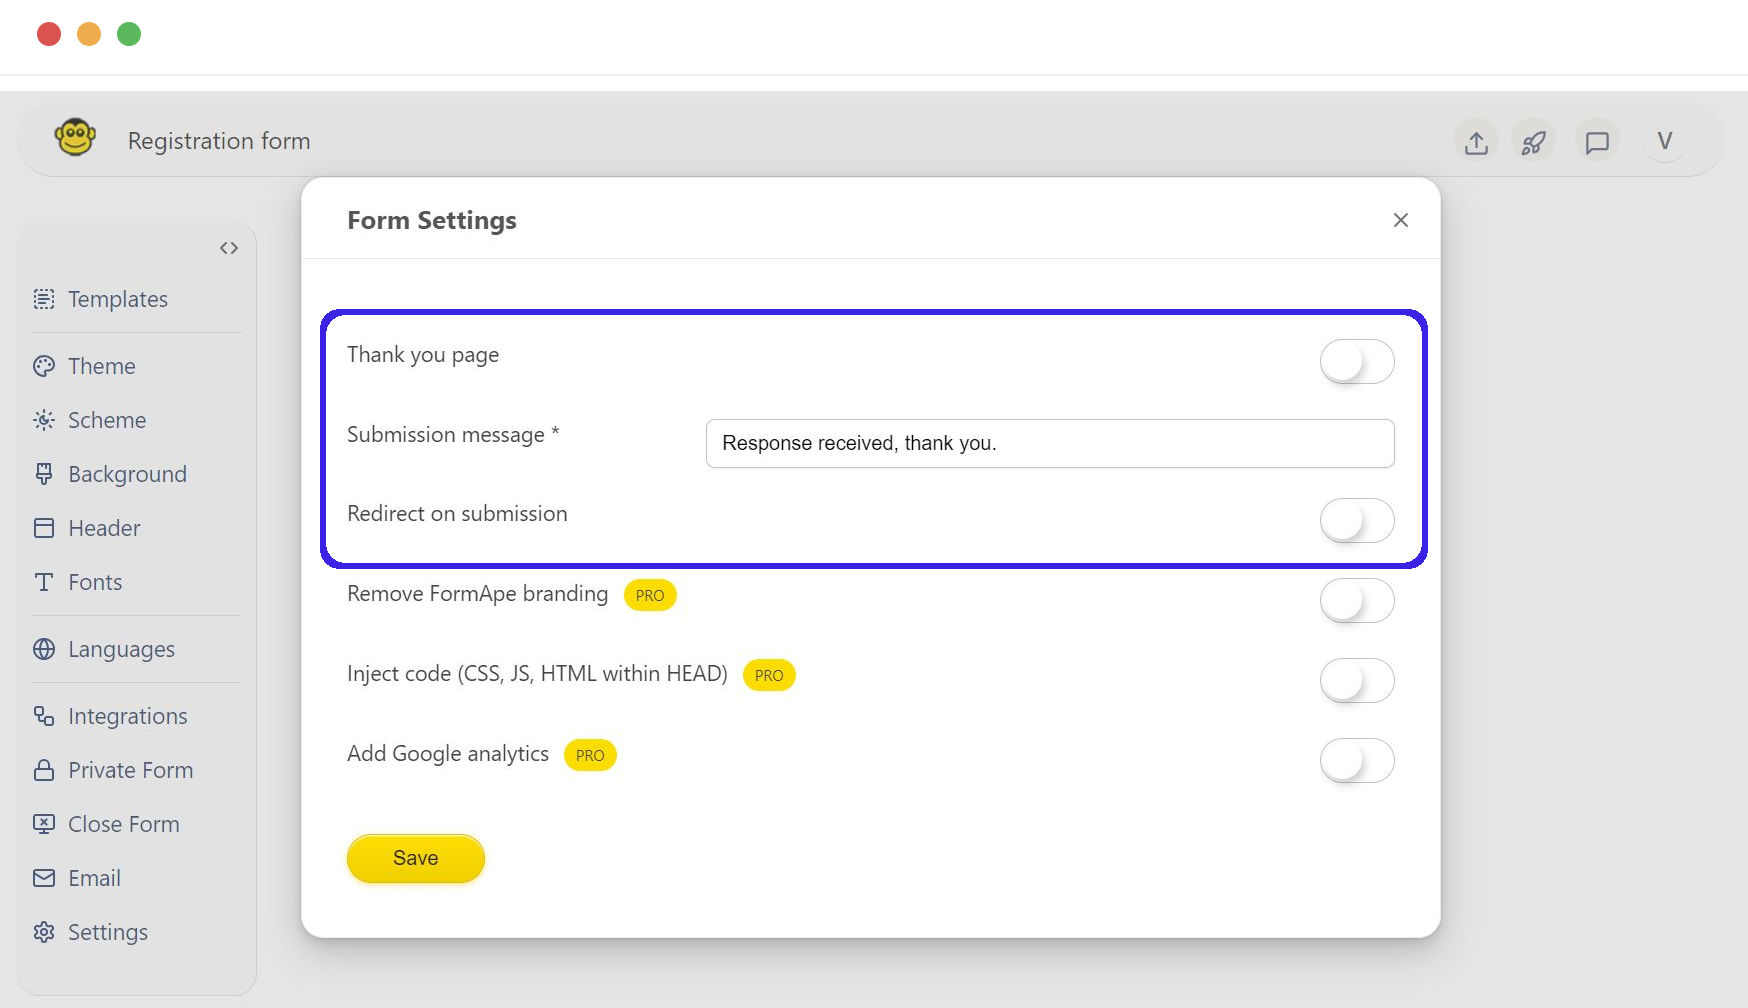
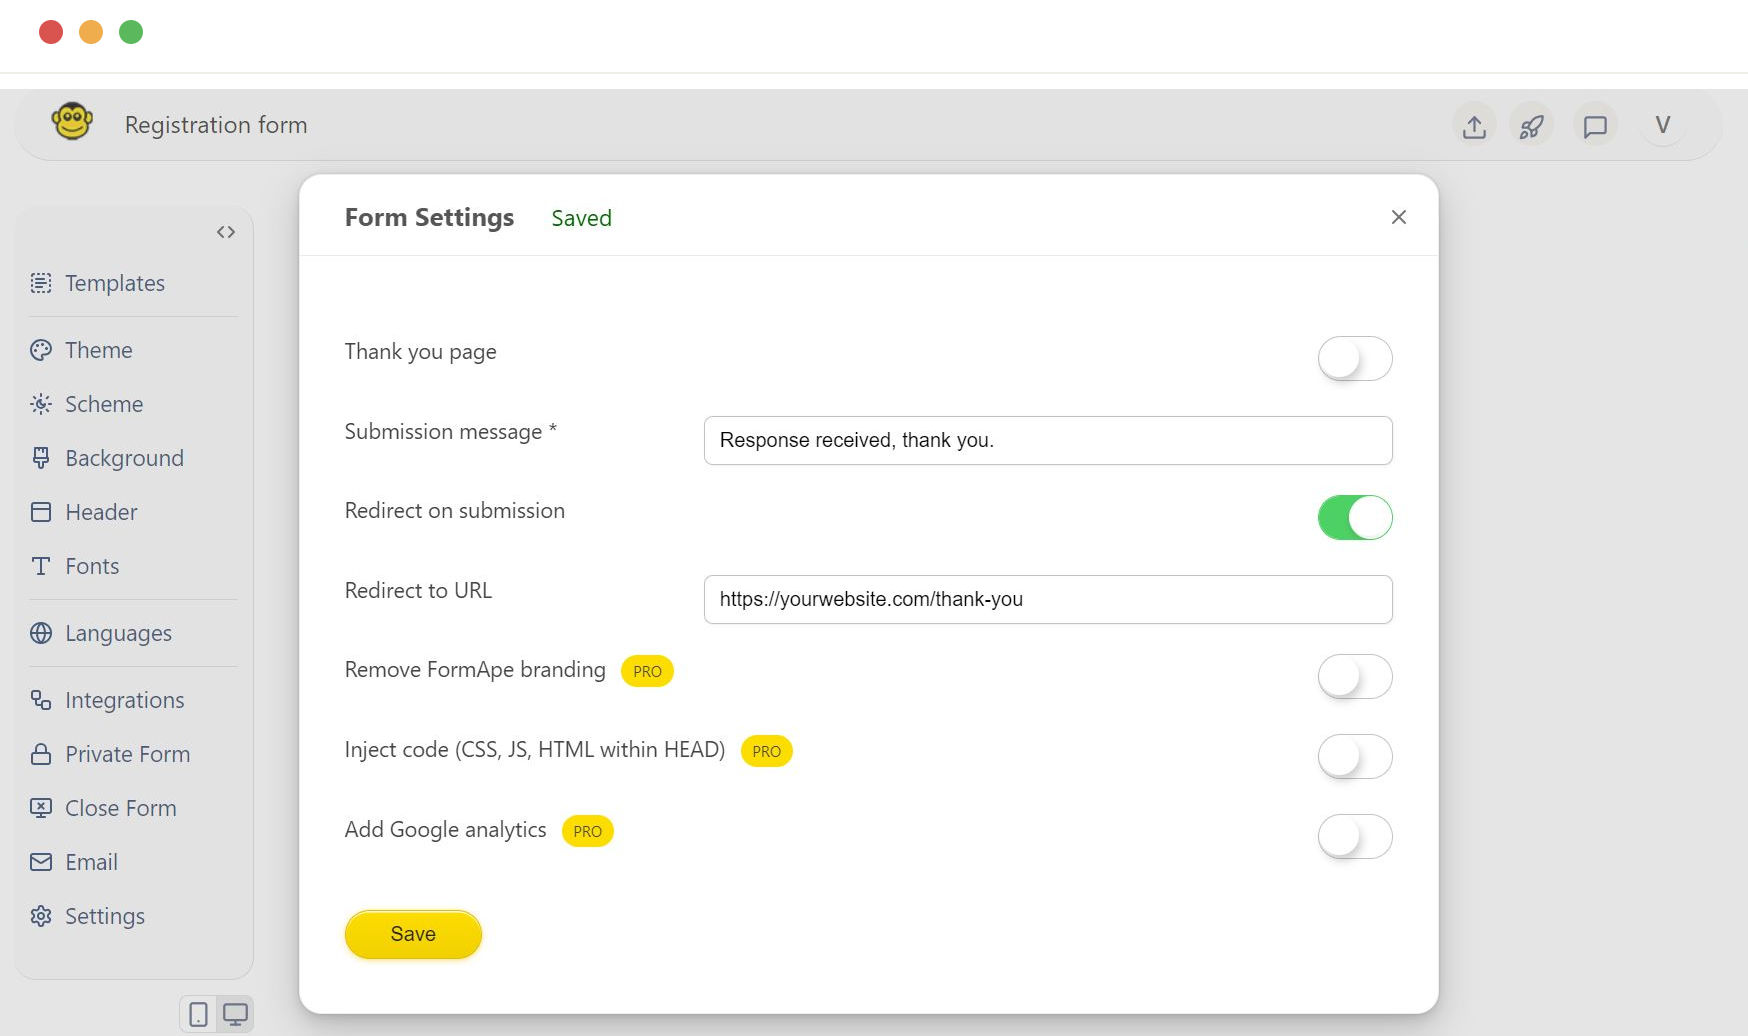
In the Form Settings dialog box, you will see the Submission message field.
By default, the submission message is set to "Response received, thank you." This message will display on the same page after the user submits the form. You can change this message to suit your form and purpose.
Enable thank you page
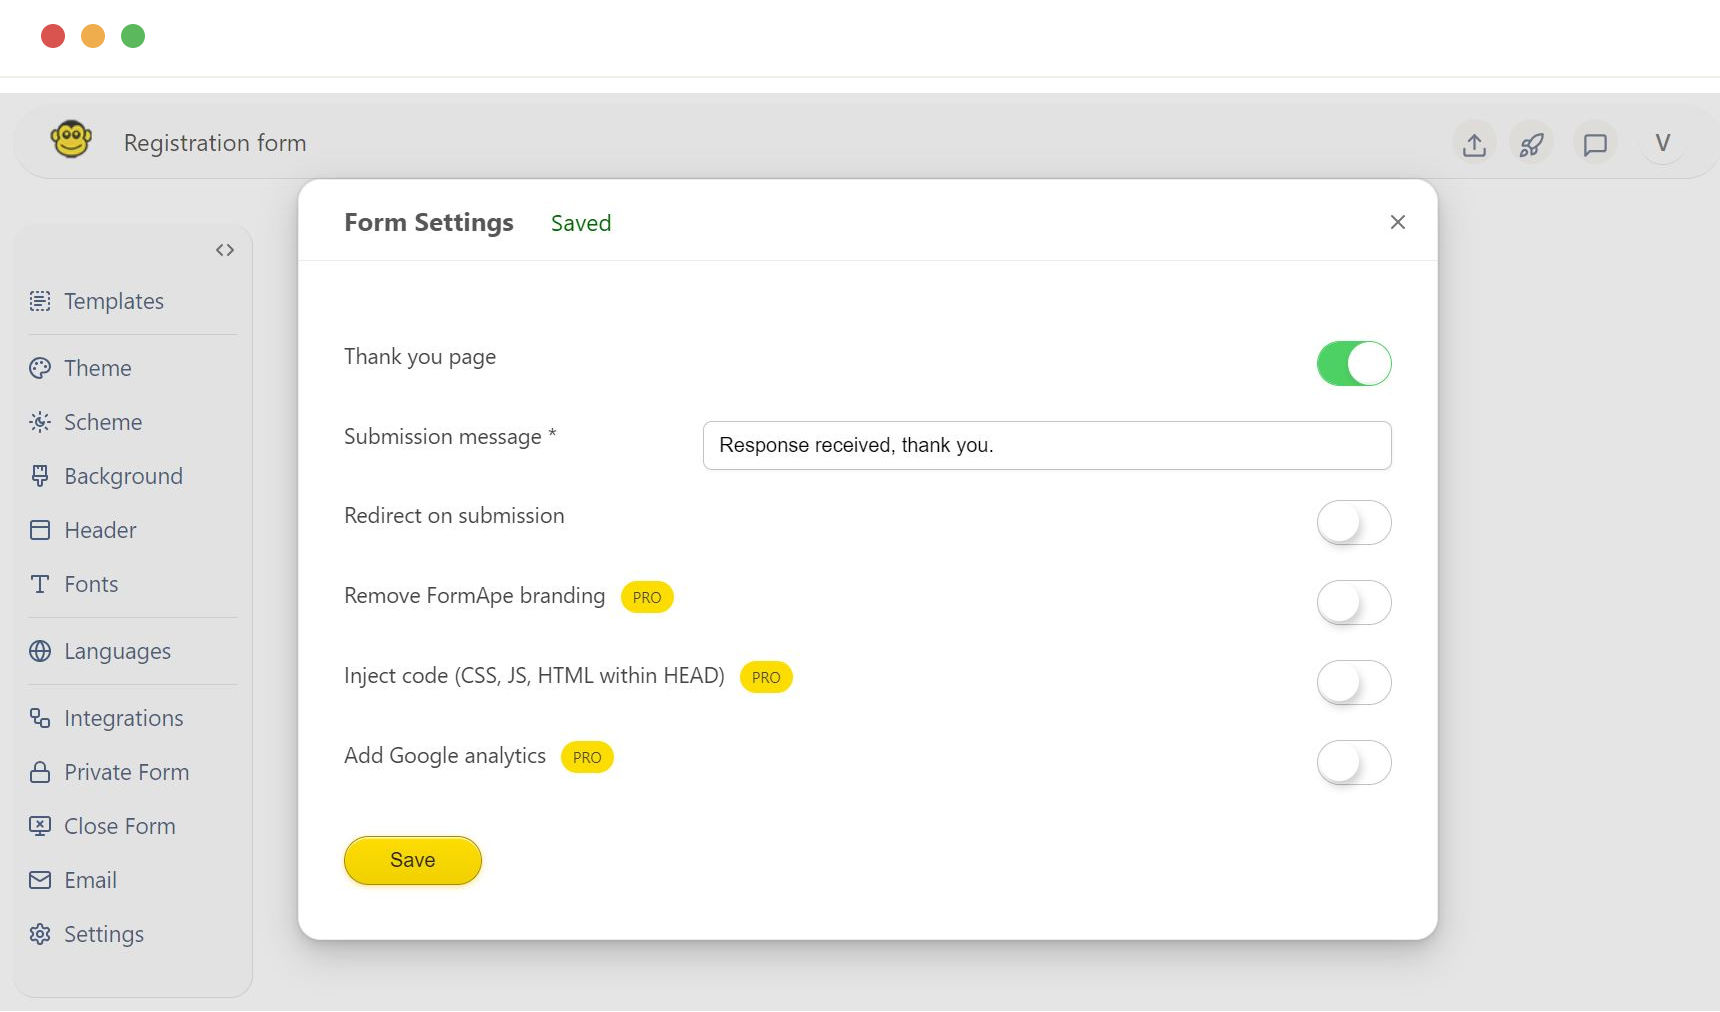
By default, the submission message is shown just below the form. Once the user submits the form, to show a separate thank you page, toggle the Thank you page switch to the ON position.
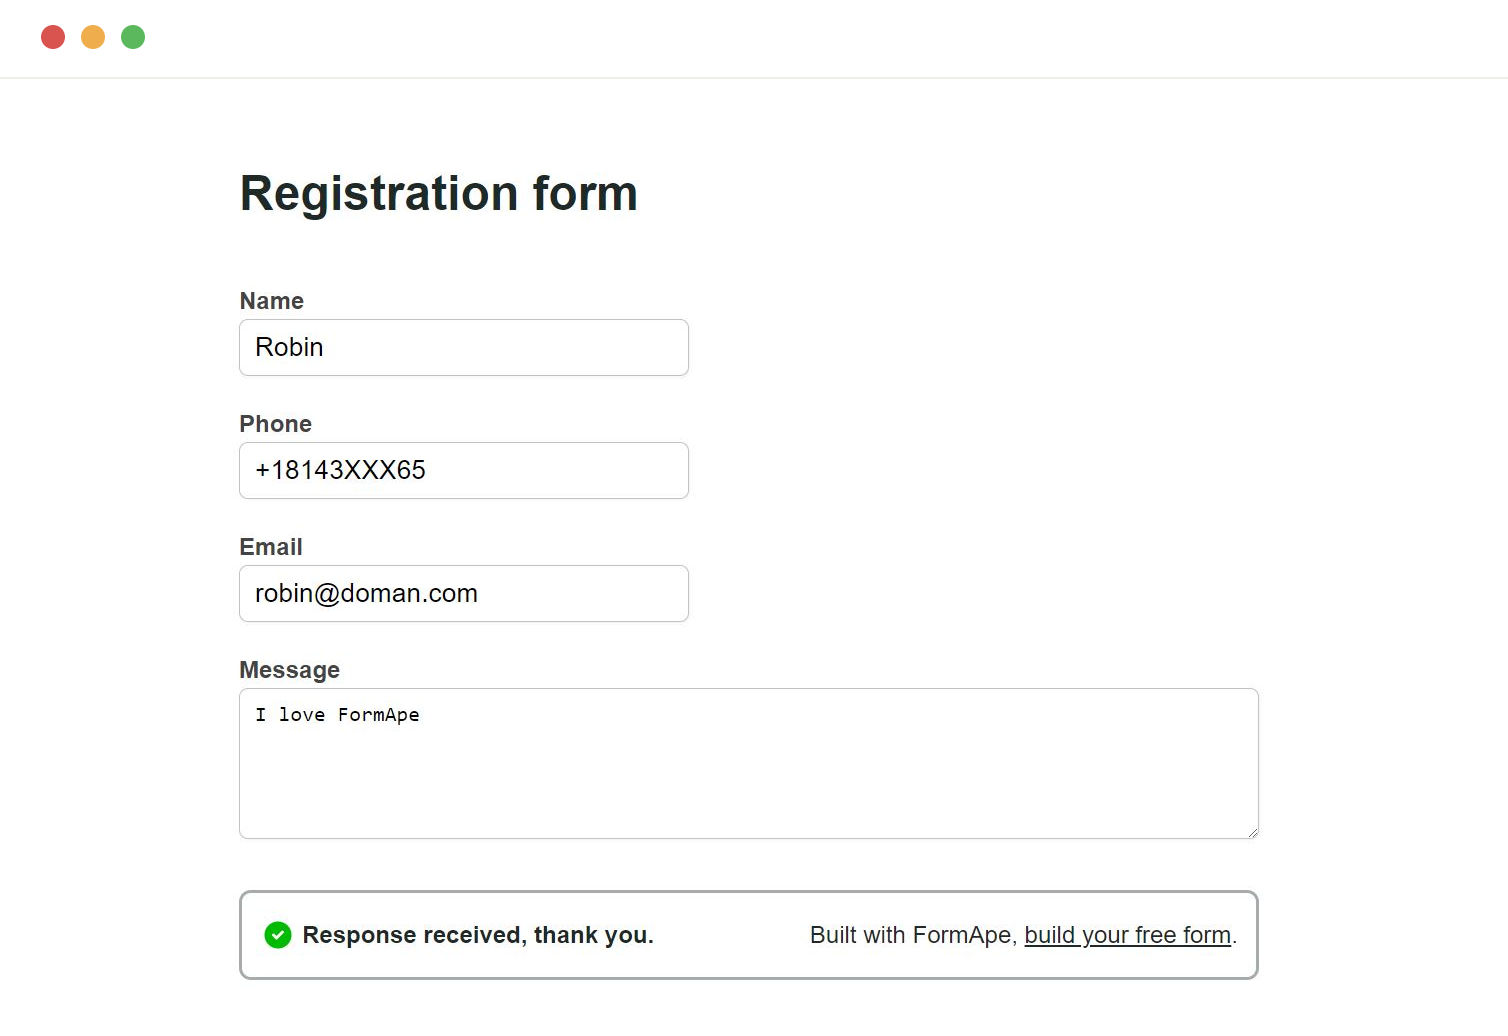
On user's submission, the submission message is shown at the bottom of the form. The form fields and user input is shown to assure the end user of what he has entered. This is the default behavior. If you wish to change this and add a seprate thank you page, it can be enabled.
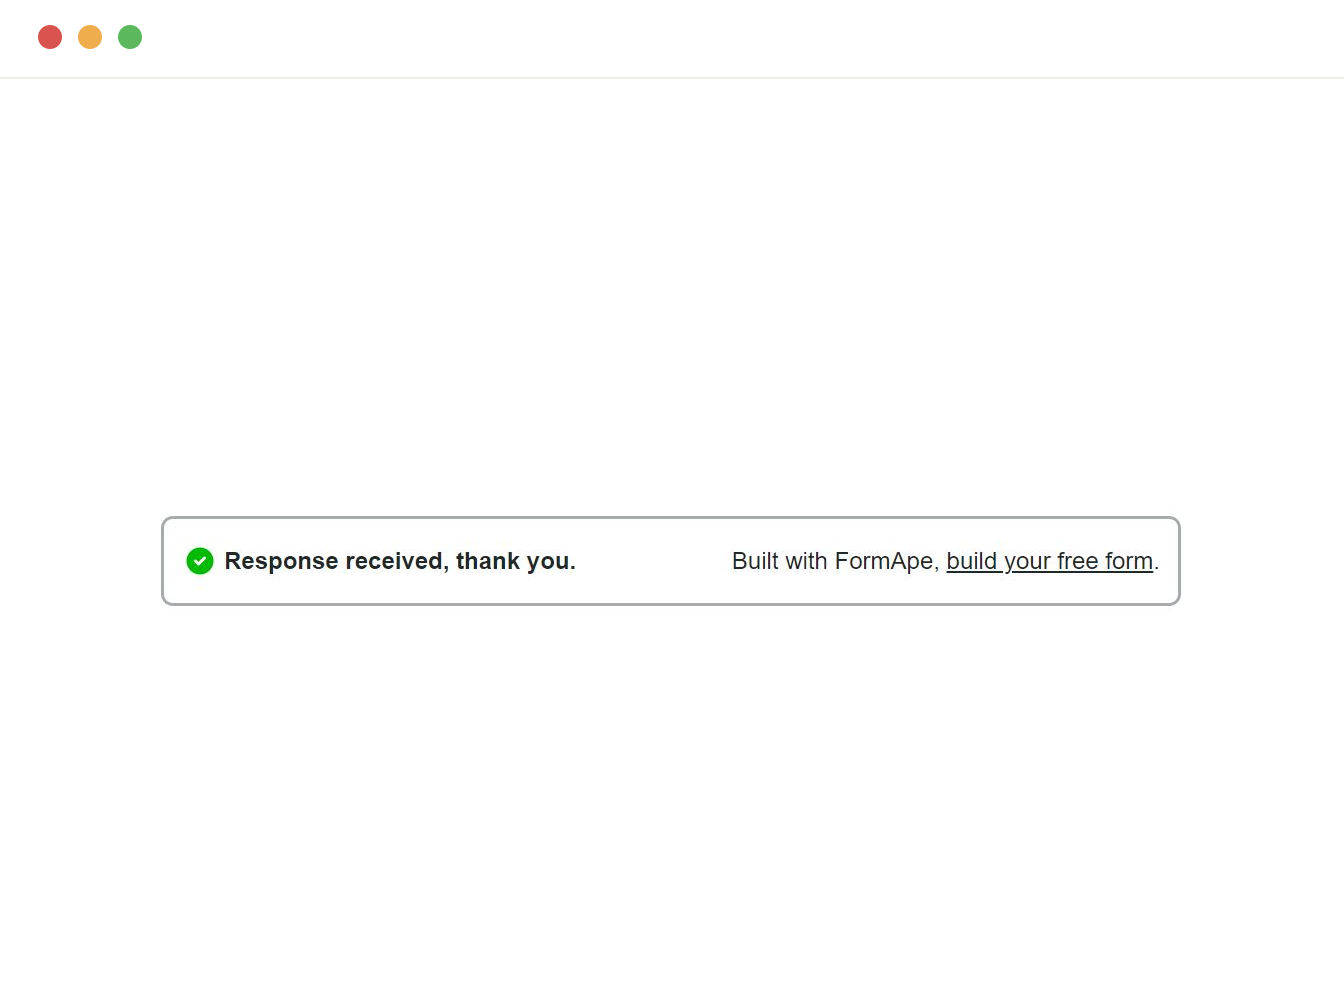
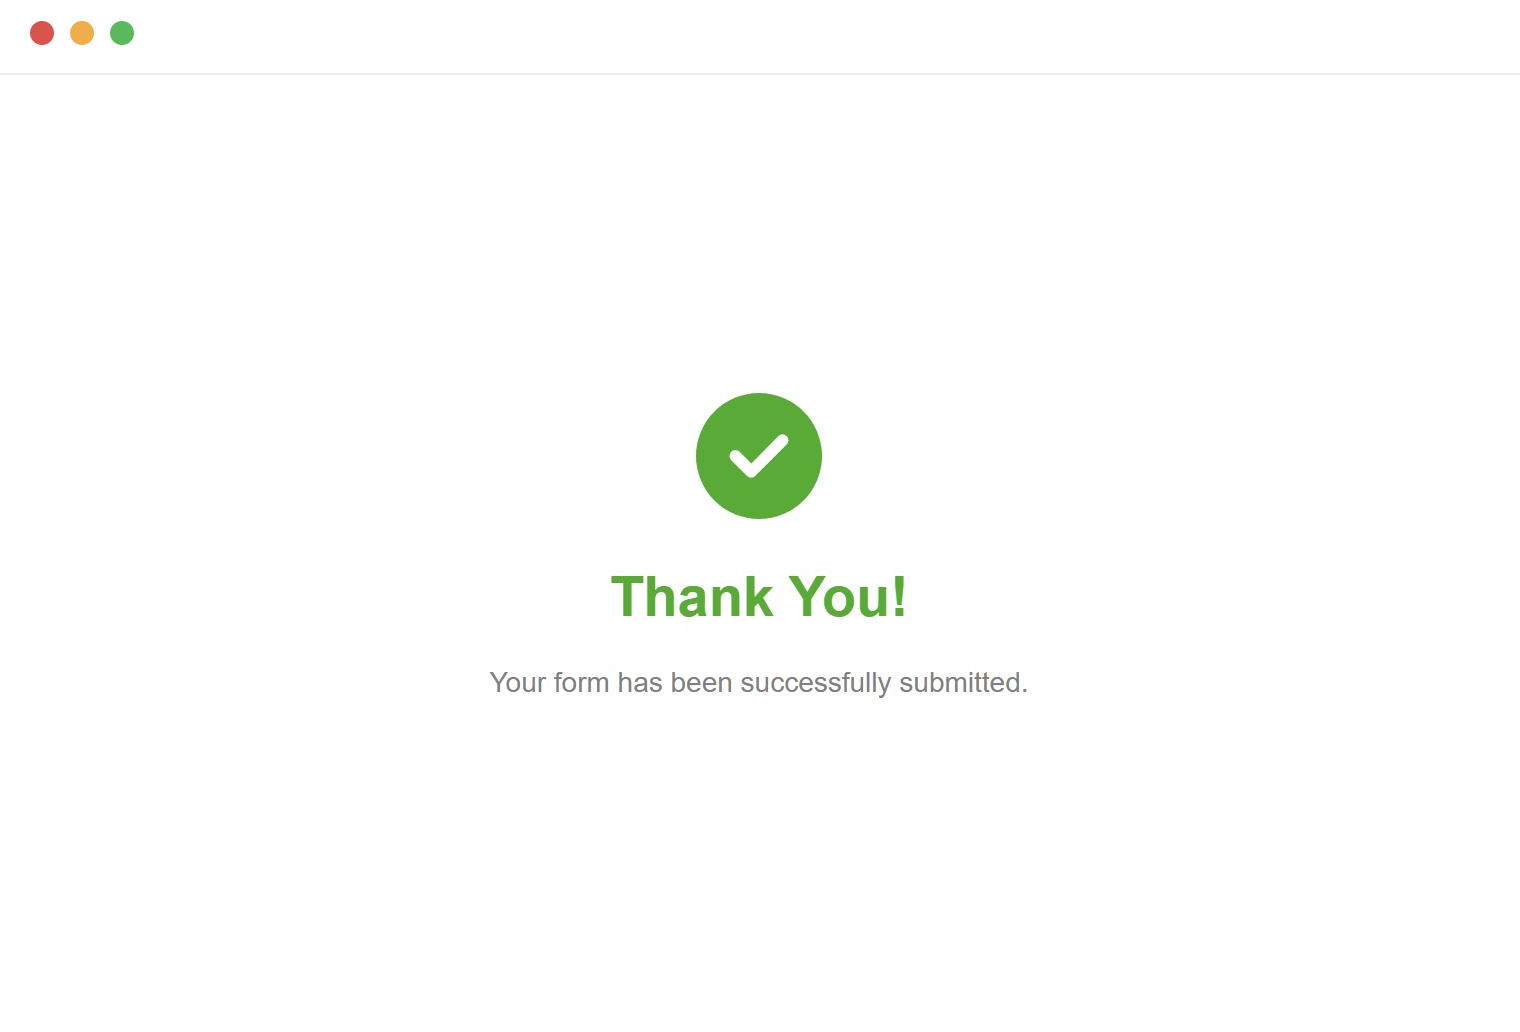
Once enabled, a separate page will be displayed to the user with a thank you message after form submission.
After configuring the settings, click the Save button to apply the changes.
Default submission message display
Once you are done with the settings, click on the Publish button located at the top right corner of the form builder.
- Fill out the Form: Users fill out and submit the form.
- Message Display: The message "Response received, thank you." will appear on the same page without redirecting.
Using a thank you page
- Enable Thank You page: Toggle the Thank you page switch.
- Fill out the form: Users fills out and submits the form.
- Redirection: User is redirected to a separate thank you page displaying your customized message.
Redirect users to your custom thank you page
You have the option to redirect users to a custom thank you page after they submit a form. This is useful for providing a more personalized experience, guiding users to additional content, or tracking conversions more effectively.
Enable redirect on submission
- In the Form Settings dialog box, find the Redirect on submission option and toggle the switch to the ON position.
- This action will enable the Redirect to URL field.
Enter custom thank you page url
In the Redirect to URL field, enter the URL of your custom thank you page. Make sure this URL points to the page where you want users to be redirected after they submit the form.
Example: https://yourwebsite.com/thank-you
Example scenario
You enable the Redirect on submission option and enter 'https://yourwebsite.com/thank-you' as the URL.
A user fills out and submits the form. The user is redirected to your custom thank you page at 'https://yourwebsite.com/thank-you'.
Need support? Get help here
Still have questions? Contact us for support. We respond to all messages and we get back within a couple of hours.
Support: www.formape.com/support