Form settings
Welcome to FormApe! This guide will help you to know about the various options available to customize a form's look and behavior via form settings.
- Accessing the form settings
- Thank you page settings
- Remove FormApe branding
- Inject code (CSS, JS, HTML within HEAD)
- Add Google analytics
Accessing the form settings
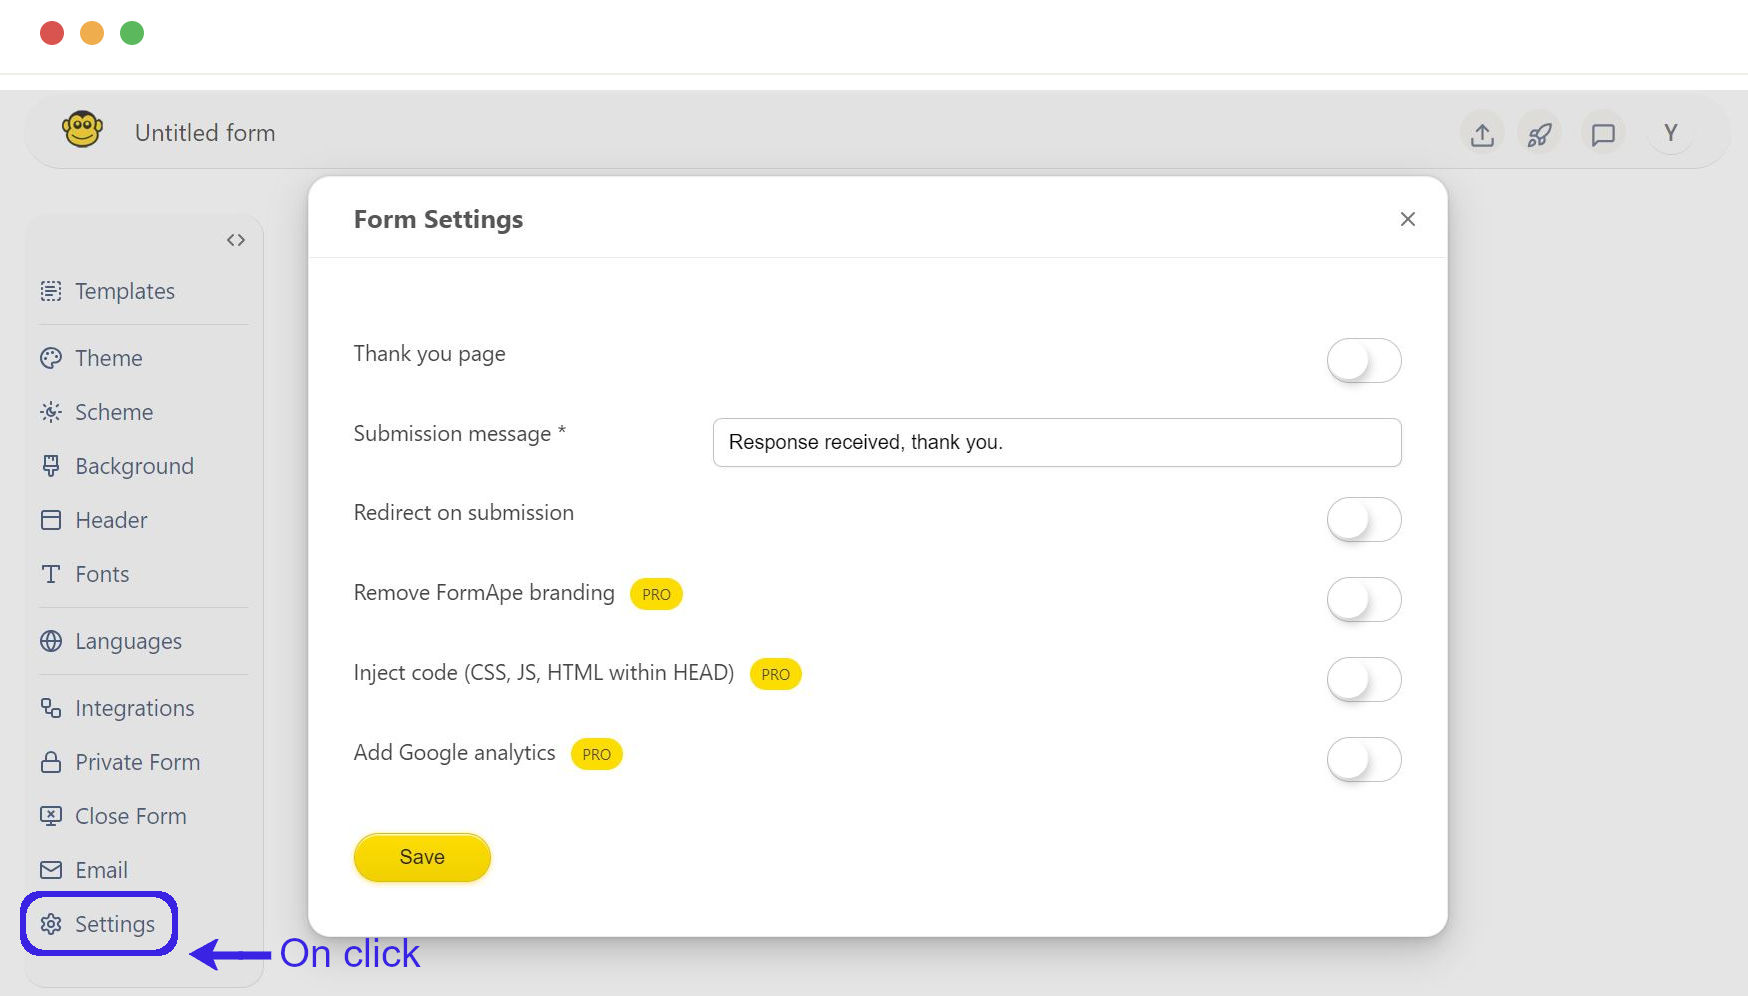
- Open the FormApe editor.
- Click on the "Settings" option located on the left side panel.
Thank you page settings
These settings, allow to change the submission message and also specify a URL that users will be redirected to after submitting a form. Check this article to learn more about the thank you page.
Remove FormApe branding
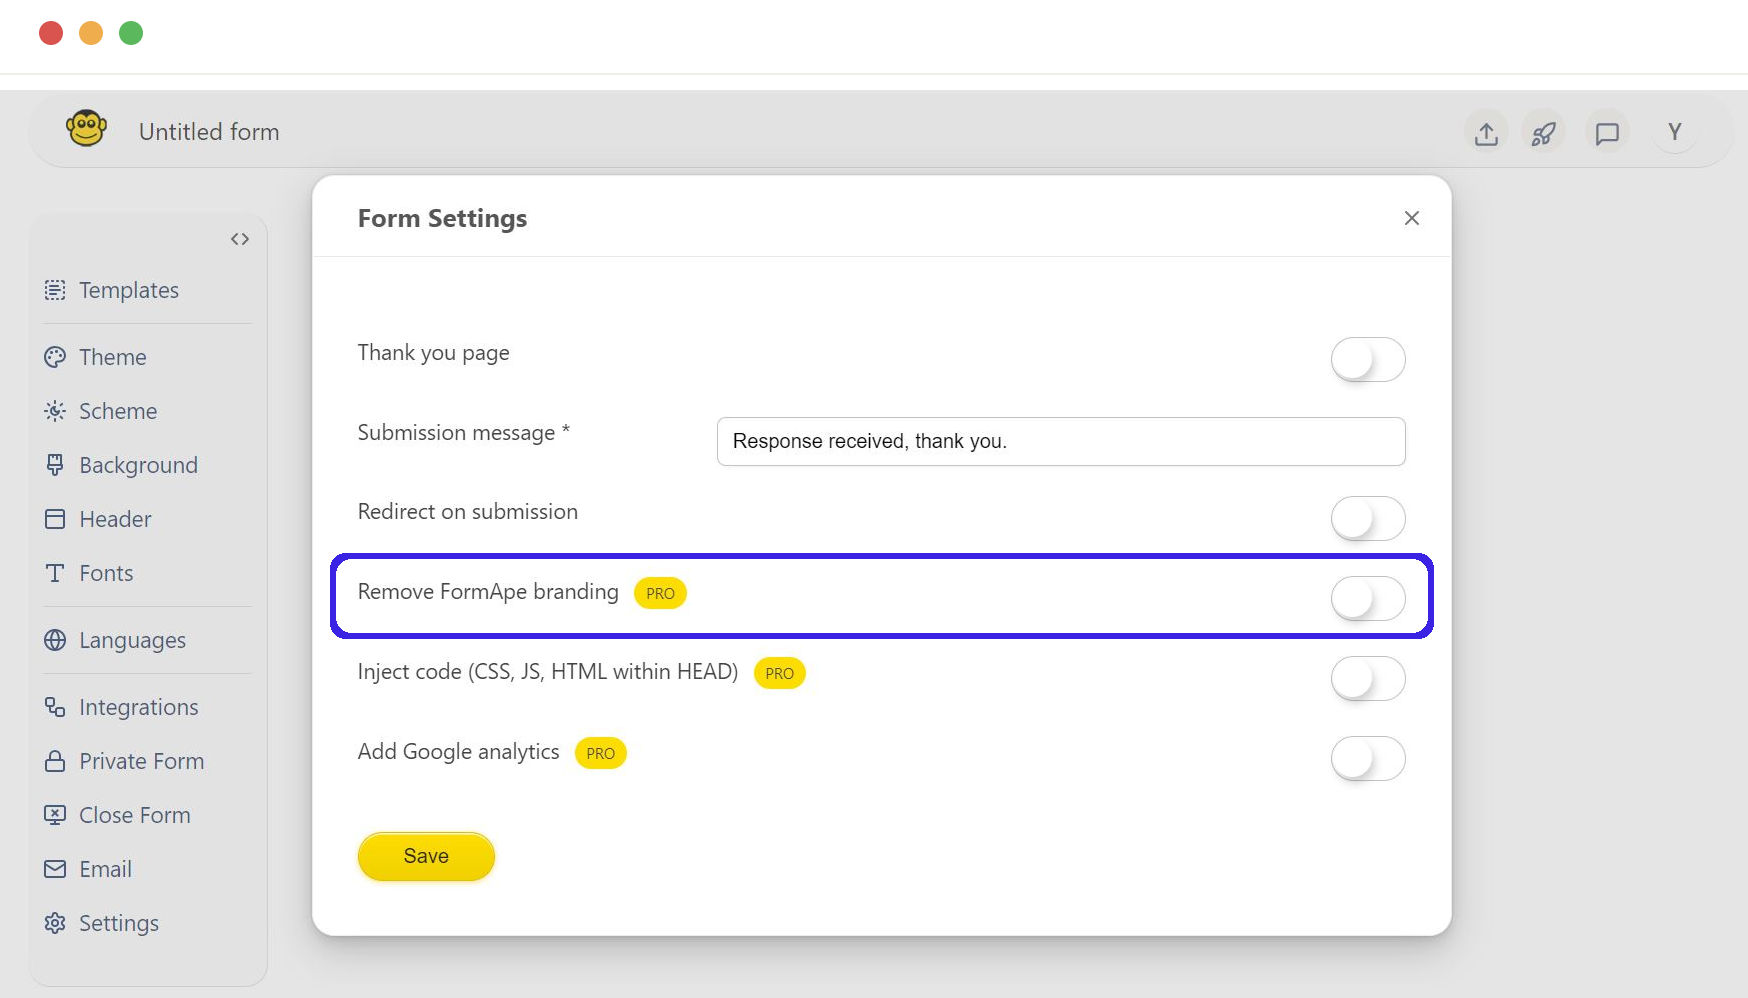
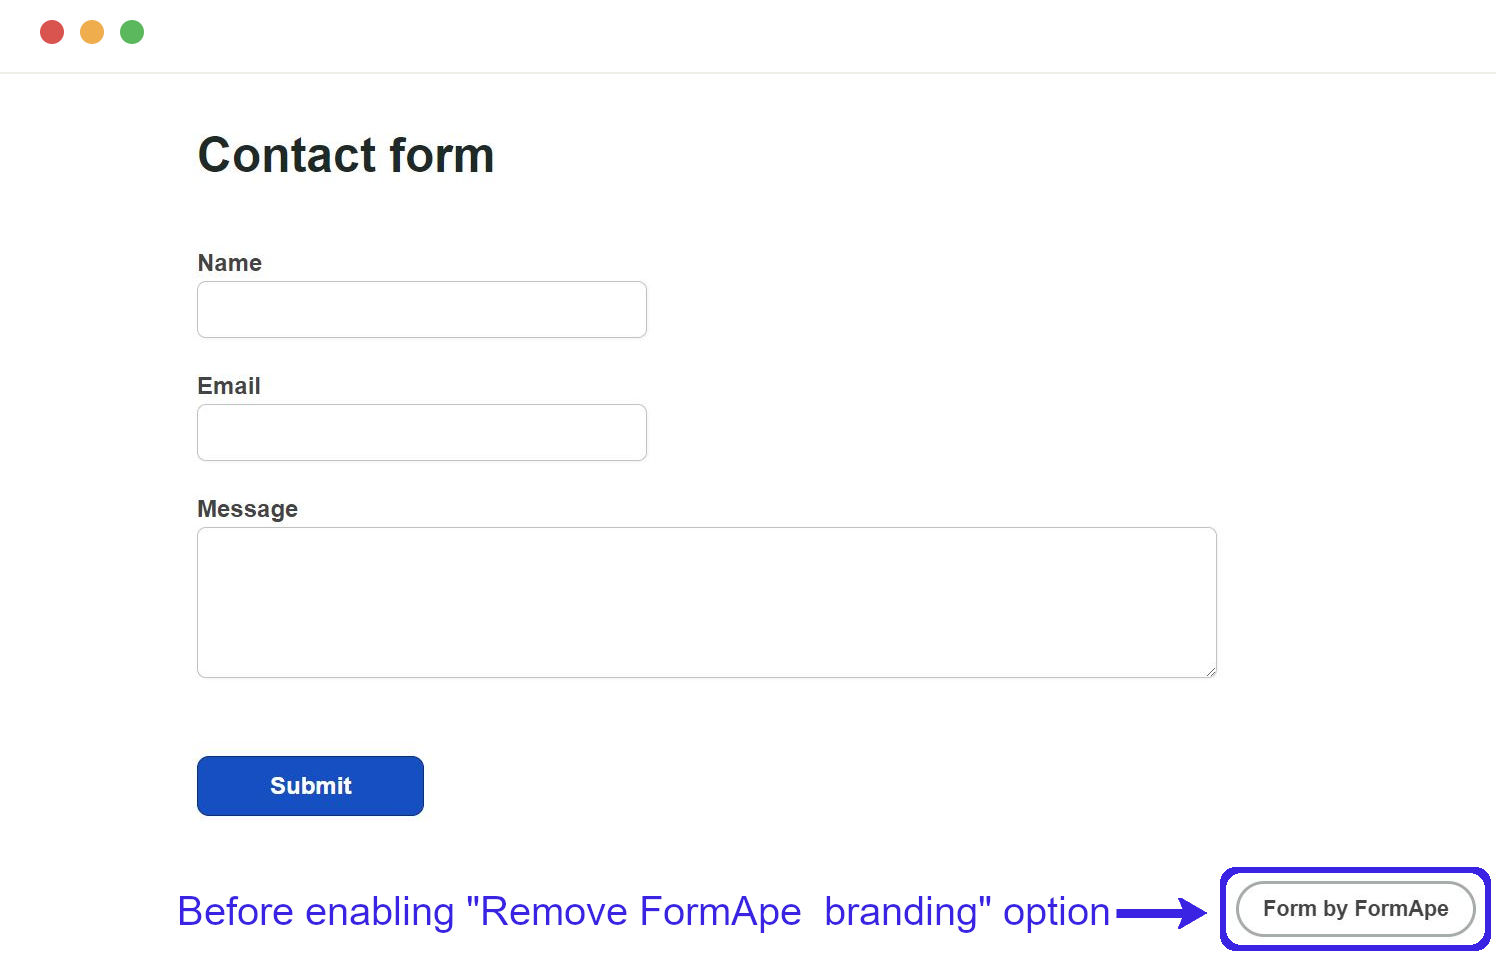
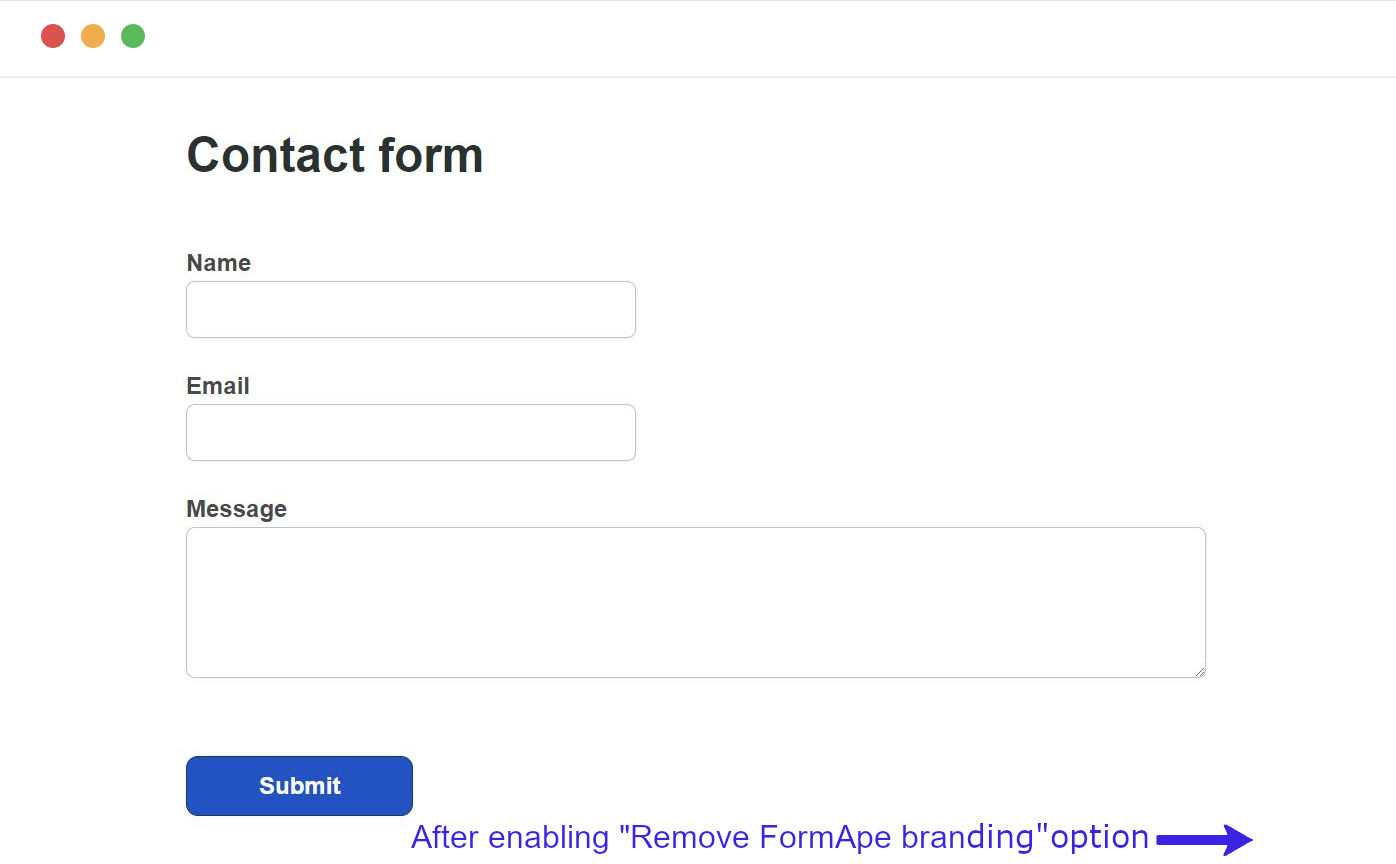
This option allows you to remove the FormApe branding from your form. It is a feature available only to Pro users.
When you switch off, the form will not display any FormApe branding at anywhere. It is a one click switch of every FormApe branding.
- Toggle on the "Remove FormApe branding" option if you have a Pro account
- Click the "save" button and publish the form.
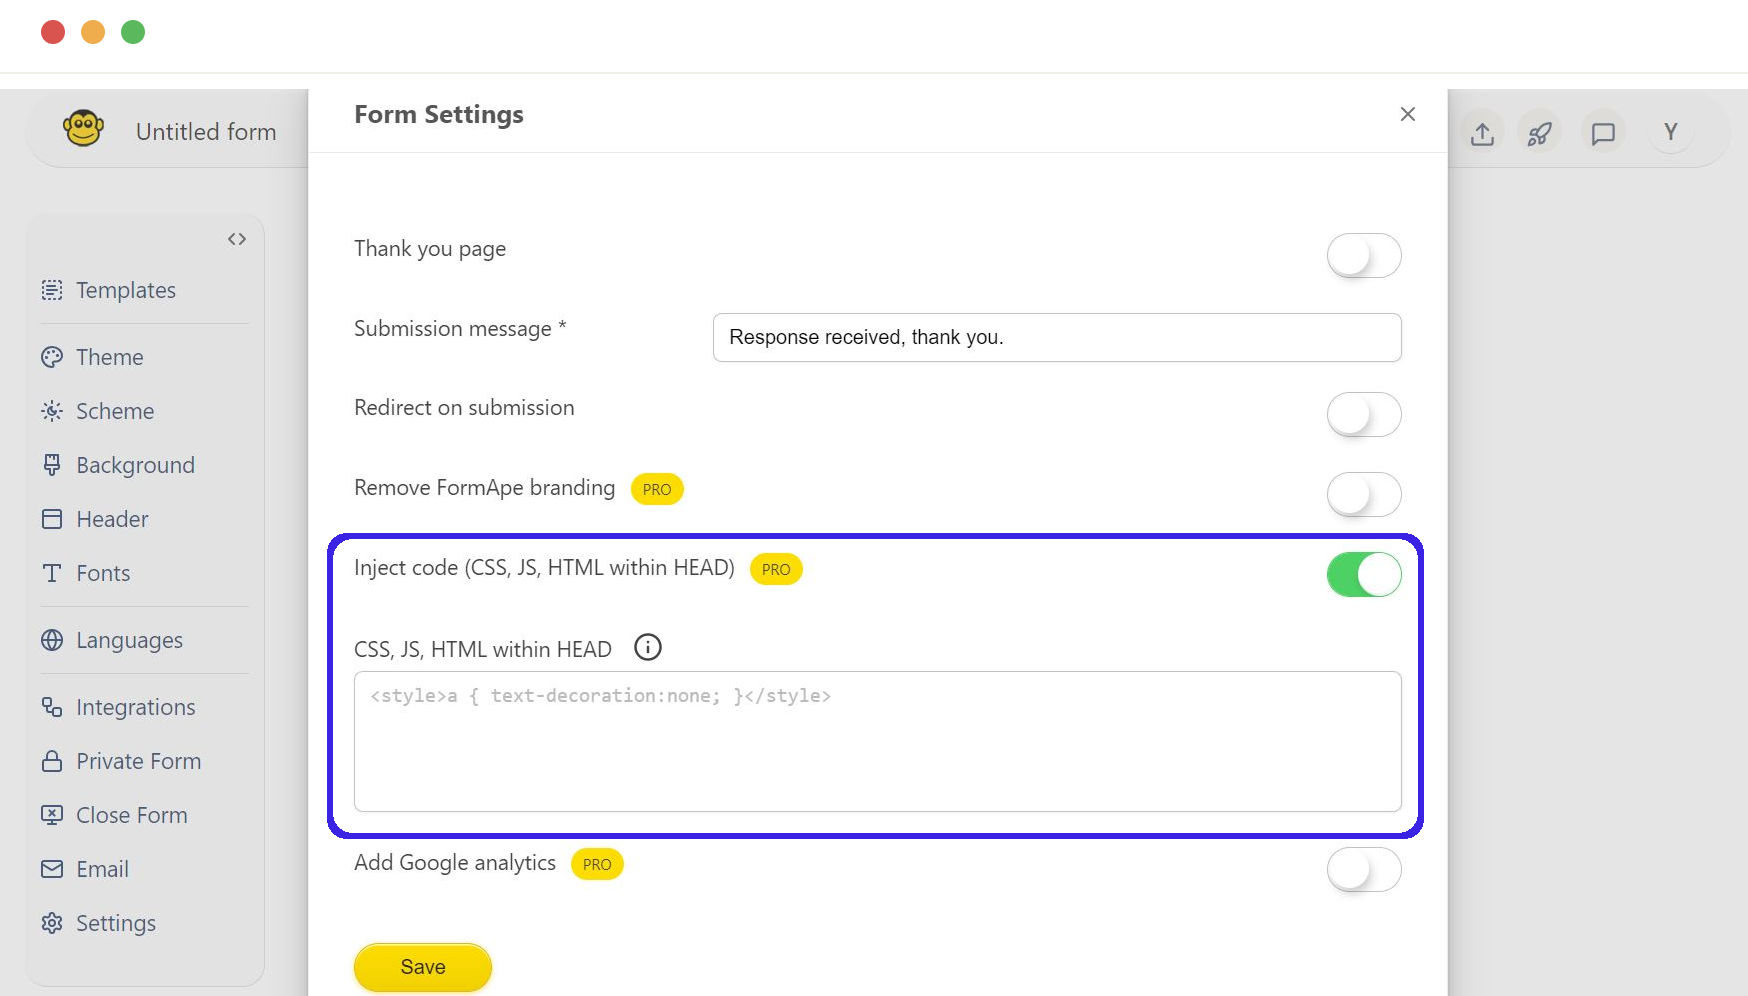
Inject code (CSS, JS, HTML within HEAD)
Using this setting, customize your form's look and functionality to match your website or application.
The custom code you enter will be injected into the HEAD section of the form's HTML.
- Toggle on the "Inject code" option if you have a Pro account.
- Enter your custom code(CSS, JS, HTML within HEAD).
- Click the "save" button and publish the form.
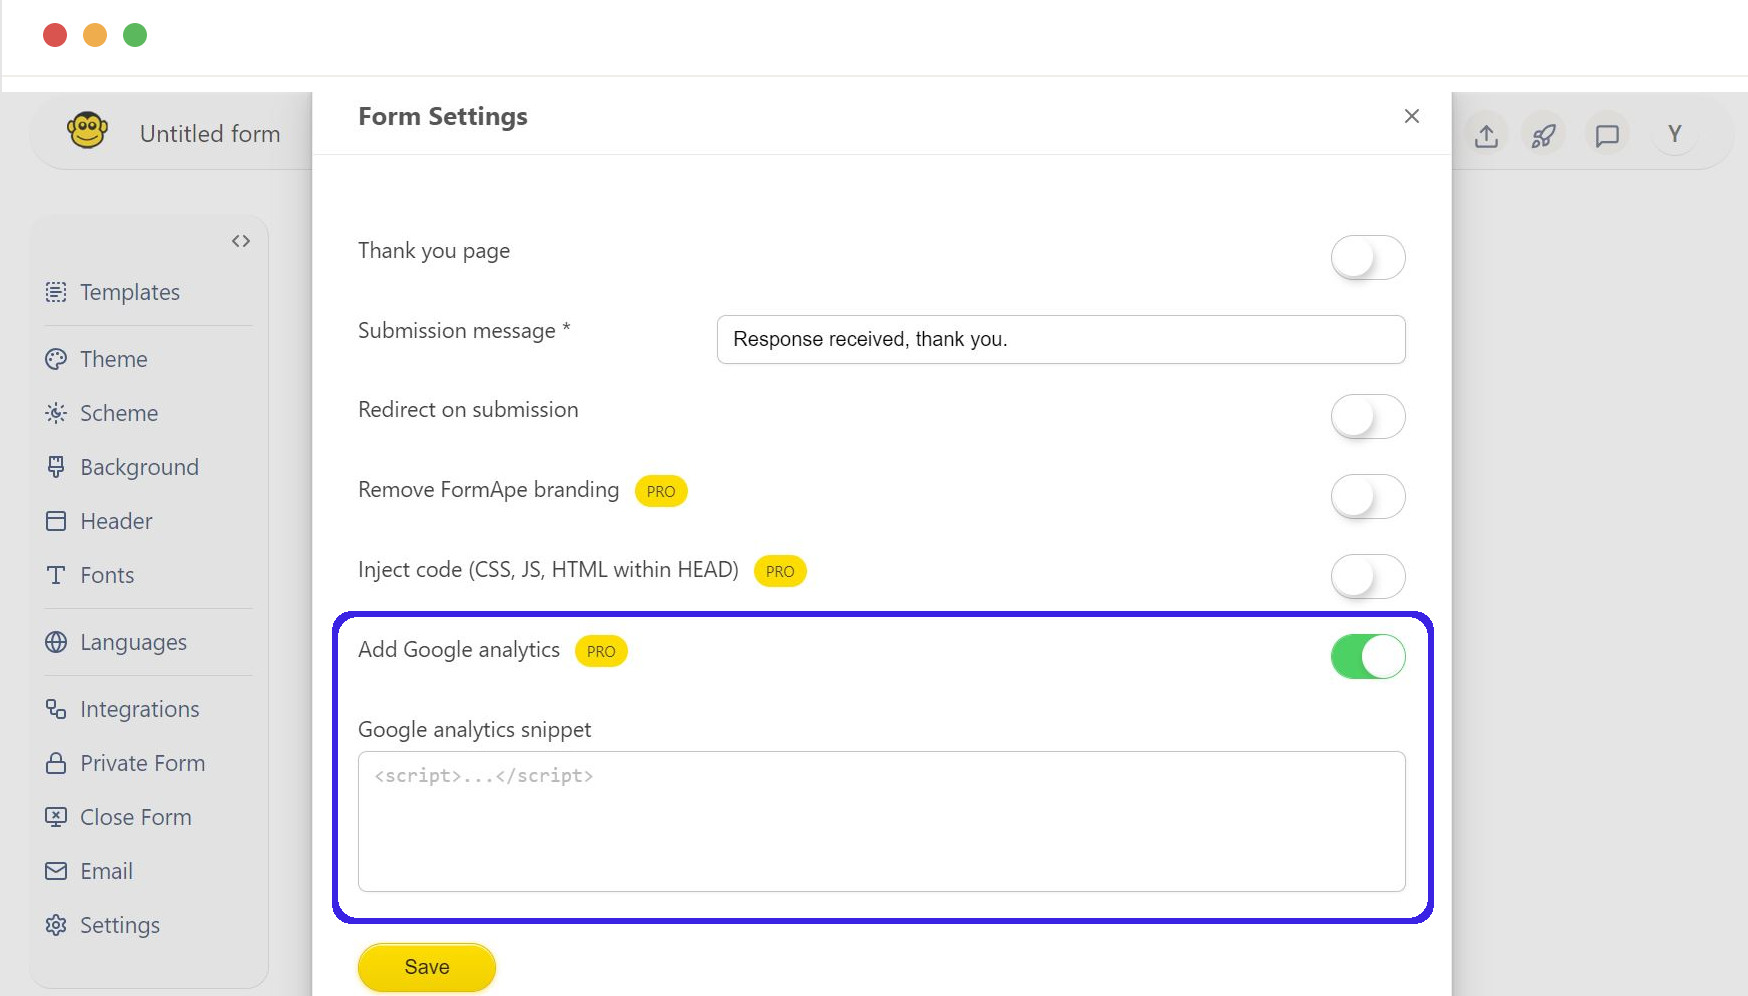
Add Google analytics
Track user interactions with the form for better insights and optimization.
Enable this feature for Pro users to integrate Google Analytics and monitor form performance and user behavior.
- Toggle on the "Google analytics snippet" option if you have a Pro account.
- Enter the Google Analytics tracking code snippet into the provided field.
- Click the "save" button and publish the form.
Need support? Get help here
Still have questions? Contact us for support. We respond to all messages and we get back within a couple of hours.
Support: www.formape.com/support